Setting up My Checkbook Remote
Before you can use My Checkbook Remote to enter your transactions, you must sign up for the My Checkbook Remote service, then set up both your My Checkbook application on your computer and the My Checkbook Remote app on your iPhone.
For all of the steps you will need to have an internet connection on your computer and iPhone.
For all of the steps you will need to have an internet connection on your computer and iPhone.
Sign up for My Checkbook Remote
You will need to have an account with My Checkbook Remote online service. When you enter a new transaction using the My Checkbook Remote app, the transaction is sent to the My Checkbook Remote server and stored. Then, once you get back to your desktop computer, you will download the transactions from the My Checkbook Remote server. After downloading the transactions you will no longer be able to access them using the iPhone app.
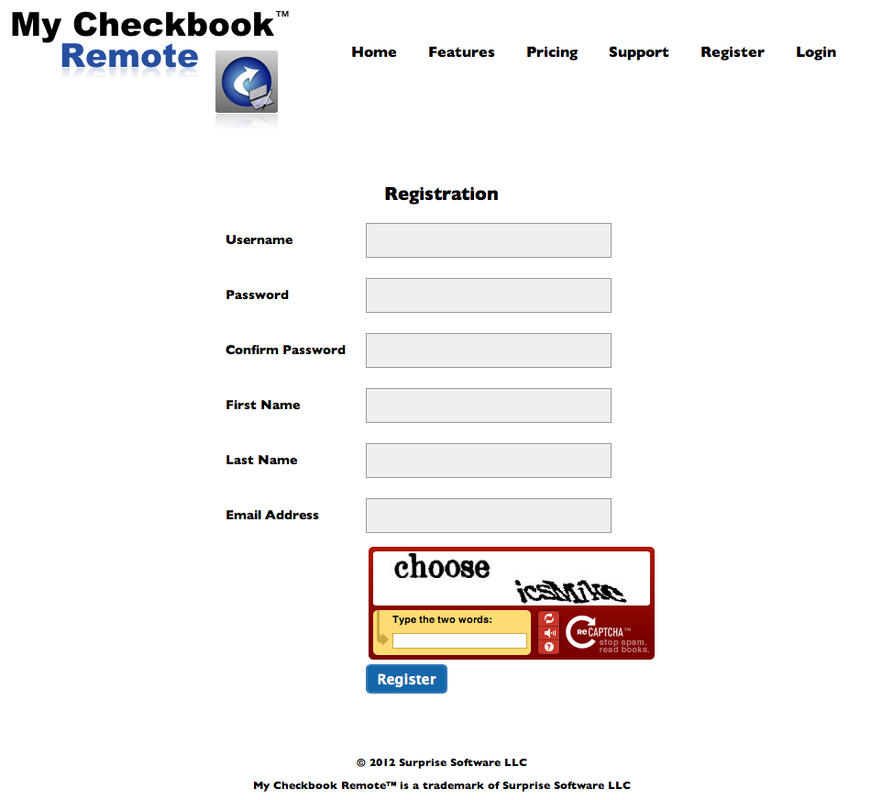
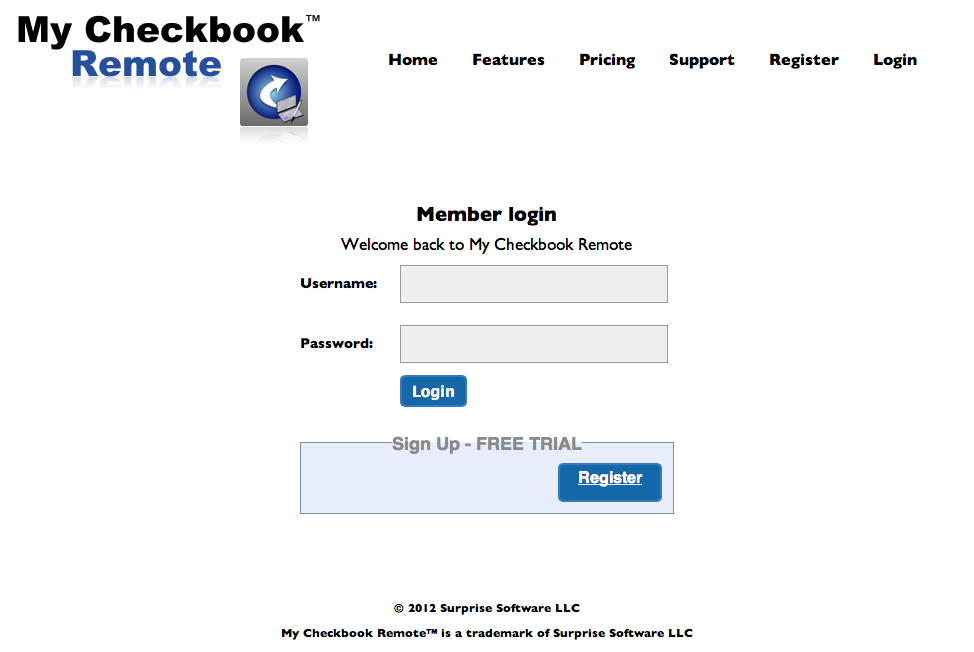
Create a username and password so that you may link your mobile devices to your computer.
Create a username and password so that you may link your mobile devices to your computer.
Once you have completed the registration form, you will be sent an email with a verification link to verify your account and login information which will complete your registration. When you clink on the link provided, you will return to My Checkbook Remote where you can now log in with your username and password.
If you don't see the email in your inbox, be sure to check your junk mail folder as well and mark it as not junk.
If you don't see the email in your inbox, be sure to check your junk mail folder as well and mark it as not junk.
My Checkbook Remote for iPhone
|
You will need to have the My Checkbook Remote app installed on your iPhone. You can purchase and download this directly from the Apple App Store.

|

|
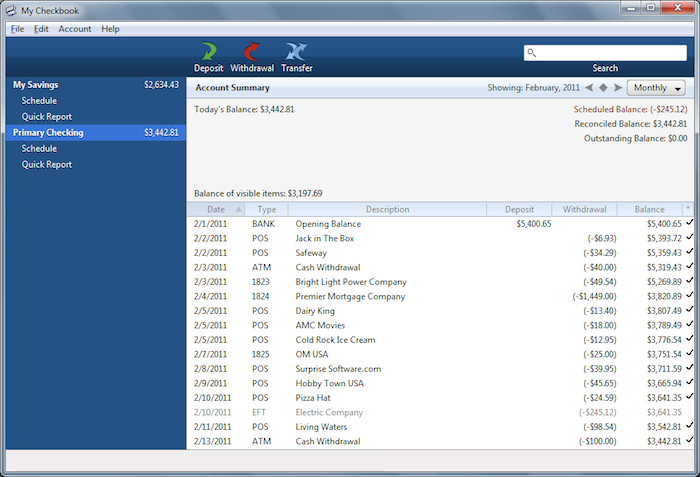
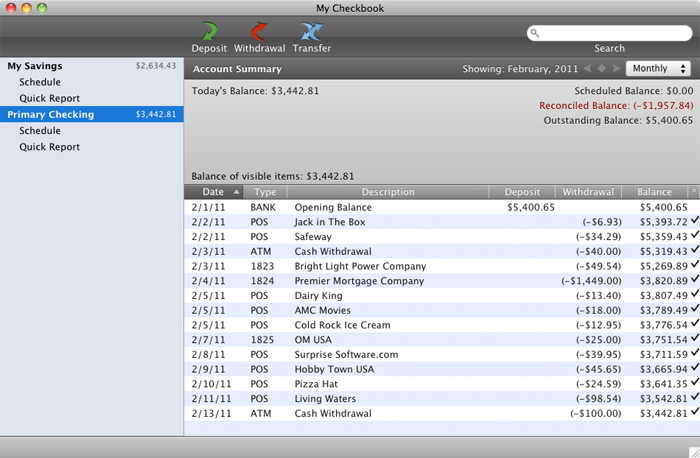
My Checkbook for Mac OS X or Windows
You will need to have My Checkbook 3.2 or later installed in order to download your transactions.
If you already have My Checkbook 3, you may download – free of charge – My Checkbook 3.2. Simply go to the “Downloads” page and click on the “Download Now” under the My Checkbook icon.
It is important to note that any prior version will not work with My Checkbook Remote. You may verify which version you are currently using by going to “Help” and “About My Checkbook” from the upper menu bar.
|
|
Set Up My Checkbook Remote for iPhone
Before you can enter transactions into My Checkbook Remote for iPhone, you will need to complete the setup.
|
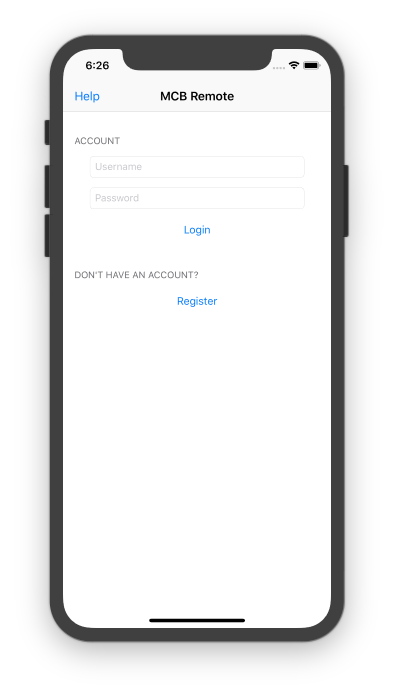
Login to the My Checkbook Remote app using the username and password you created at the My Checkbook Remote website.
|
|
|
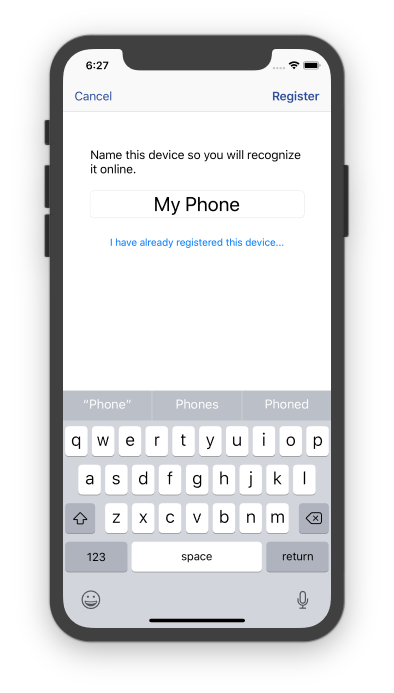
Provide a name for the device you are registering so that you will recognize it when you login to My Checkbook Remote. Each device you register must have a unique name. If you have already registered this device you can press the "I have already registered this device..." button and choose the device name from the list. Do not use two devices with the same registered name, or you may experience unexpected issues.
|
|
|
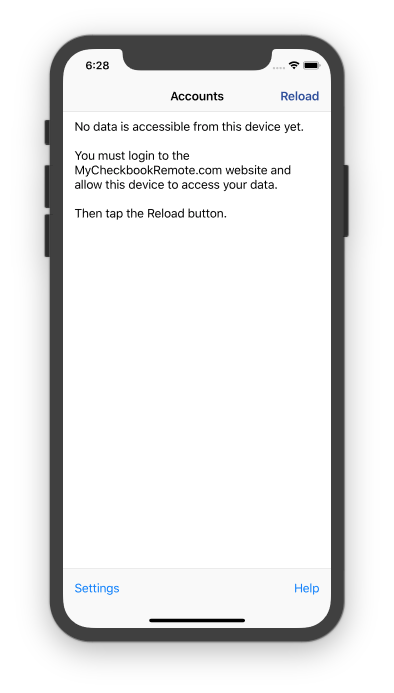
After registering the device, you may notice that no accounts are able to be seen. This could be because you haven't completed the registration steps yet on your computer, or that you need to update the device settings on the My Checkbook Remote website to allow this device to access the specific accounts.
|
|
|
If you haven't already linked your computer with the My Checkbook Remote online service, you will not see any accounts yet. After you have setup your computer and registered your accounts, you can return to the My Checkbook Remote website and change which accounts you can access.
|

|
Set Up My Checkbook for Your Computer
You must register My Checkbook for your computer with the My Checkbook Remote online service before you can download any transactions. Accounts that you create on your computer will be registered with the server and you can then allow those accounts to be accessed from the My Checkbook Remote app on your iPhone so that you can enter new transactions.
Launch My Checkbook on your computer.
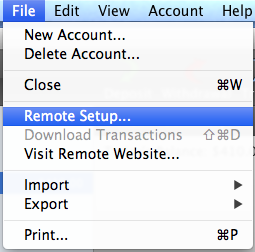
Choose "Remote Setup..." from the "File" menu to begin the setup process.
|
|
|
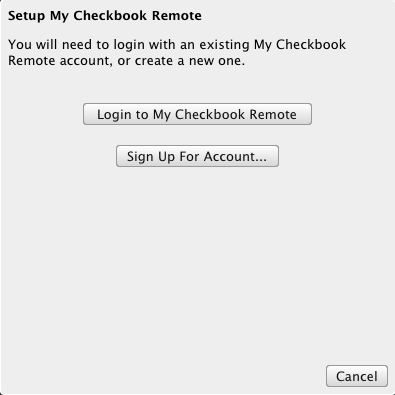
Click the "Login to My Checkbook Remote" button to login with an account you've already setup. If you do not have an account, you can create a My Checkbook Remote account now.
|
|
|
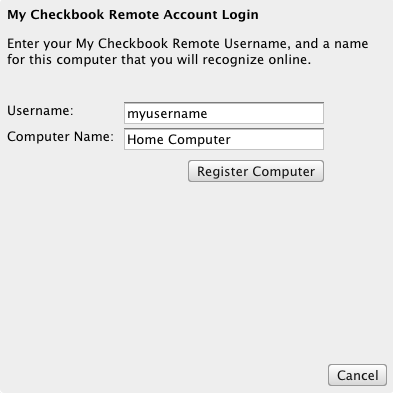
Enter the username that you created with your My Checkbook Remote account. Also, provide a name for the device that you're registering. You need to make it a memorable name, and it cannot be a name which is the same as any other device you have registered.
Once you have entered the information, click the "Register Computer" button. To protect your account security, a Security Pin will be created to authorize your computer.
You need to login at the My Checkbook Remote website and access the Security Pin for the computer you just registered. |
|
|
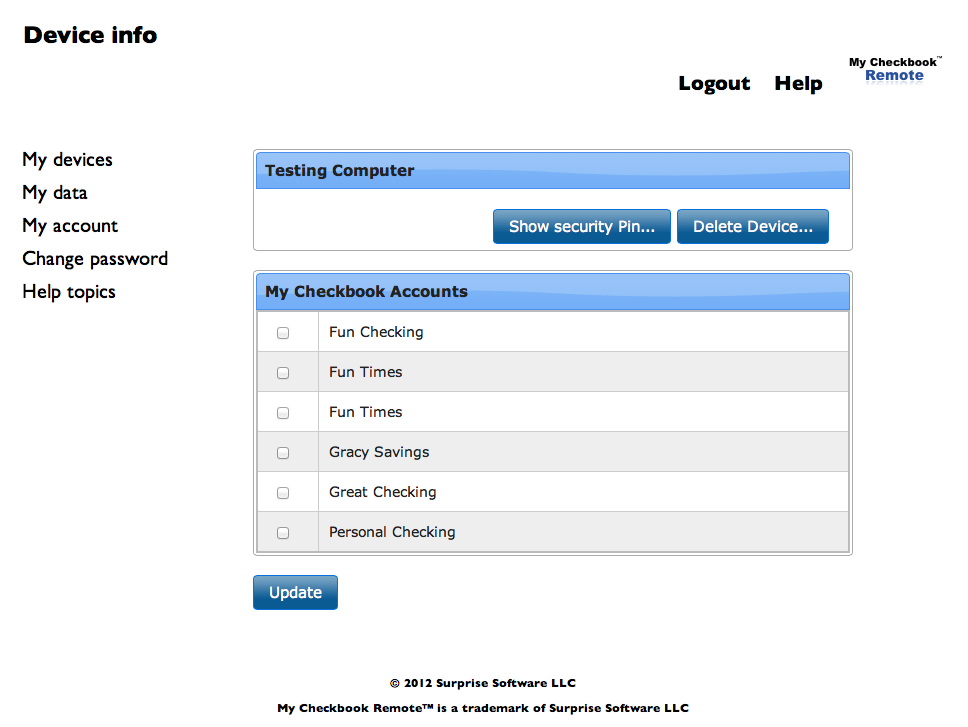
You can look at the list of all the devices you have registered by choosing "My devices" from the left menu. Then you need to click on the "Details..." button for the device you just registered. This will show you the device information.
Your device list should look similar, but may have more devices registered. |

|
|
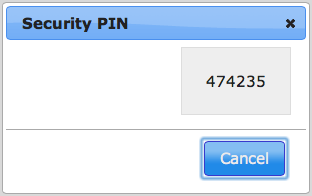
Click on the button called "Show security Pin..." to see your pin for this device.
|
|
|
You can copy and paste this Security Pin to help prevent typing errors, or you can manually enter it. It is made up of only numbers, no letters.
|
|
|
This step authorizes the My Checkbook application on your computer to access your online account. This Security Pin will be kept on your computer so that you can download the transactions without needing to repeat these steps each time.
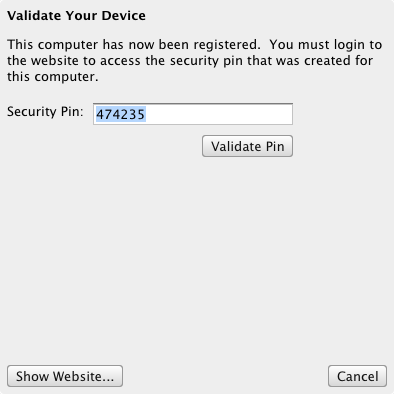
Enter the Security Pin for this device and then click the "Validate Pin" button. |
|
|
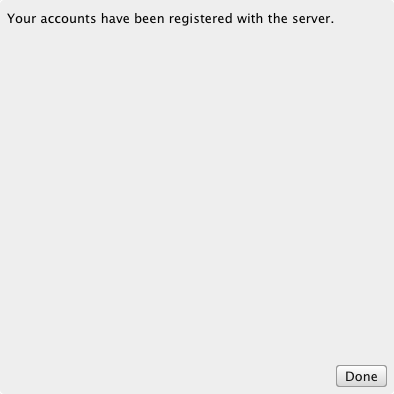
All the accounts you have created on this computer will be automatically registered with My Checkbook Remote.
If you create new accounts in the future, they will also be registered with My Checkbook Remote. If you delete the accounts from this computer, you will need to manually delete them from My Checkbook Remote online. |
|
Access Your Accounts on Your iPhone
Now that you have setup both your iPhone and your computer, you are ready to link the accounts from your computer to your iPhone. You must complete this step, or you will not be able to see any of your accounts on your iPhone.
|
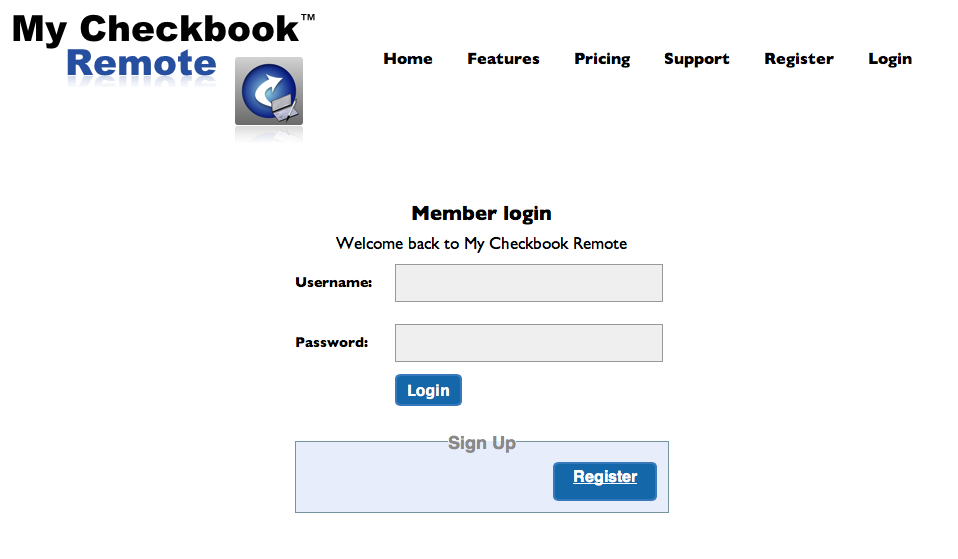
Login to My Checkbook Remote online.
|
|
|
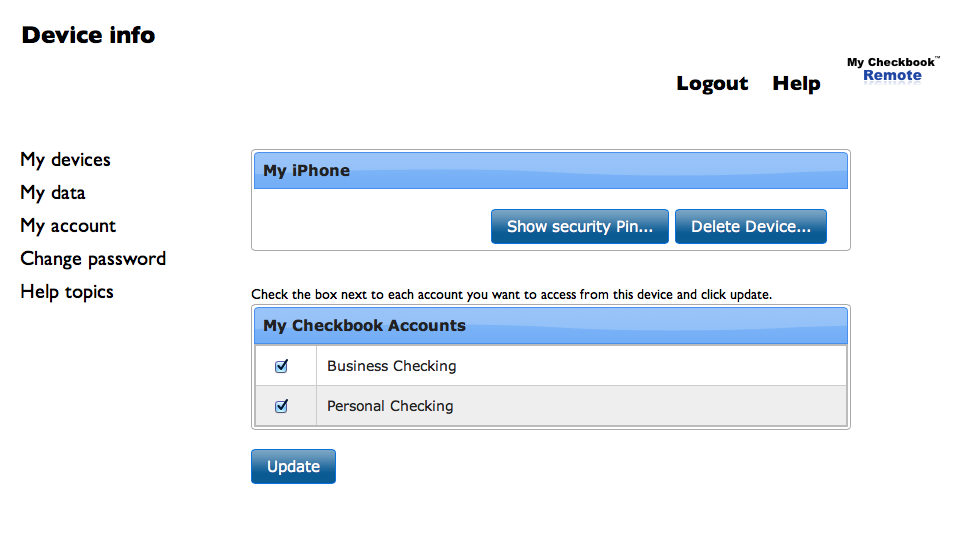
From the My Devices page, click the "Details..." button for the iPhone you just registered.
|

|
|
Check the box next to each account name that you want to access on your iPhone. You will only be able to add new transactions for accounts that are checked here.
|
|
Downloading Transactions to Your Computer
Once you have entered new transactions on your iPhone, you are ready to download them into My Checkbook on your computer.
|
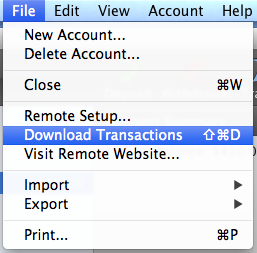
Launch My Checkbook, go to “File” and “Download Transactions” from the upper menu bar.
That’s it! They are now permanently transferred to your home computer. If you need to make any changes, you can always edit the transaction by double clicking on them. |
|